Tutorial: Start using Joe Bot for PostgreSQL query optimization
Step 1. Requirements
- Set up DBLab Engine (e.g., running on address https://dblab.domain.com) before configuring Joe Bot
Make sure the address used in accessHost is accessible from where you are going to run Joe Bot.
- Prepare any Linux machine with Docker. See the official documentation on how to install Docker on Linux
Step 2. Configure communication channels
There are two available types of communication with Joe:
- Web UI powered by PostgresAI Console
- Slack
You can use both of them in parallel. If you can develop in Go language, feel free to implement more types of communication: see communication channels issues.
We need to define where to store the configuration file. We will use ~/.dblab/joe/configs/joe.yml.
Configuration example:
mkdir -p ~/.dblab/joe/configs

curl -fsSL https://gitlab.com/postgres-ai/joe/-/raw/0.10.0/configs/config.example.yml \
  --output ~/.dblab/joe/configs/joe.yml
Then, configure ways of communication with Joe.
Step 2a. Set up Joe in PostgresAI Console ("Web UI")
If you don't need Web UI and prefer working with Joe only in messengers (such as Slack), comment out channelMapping: communicationTypes: webui subsection in Jog config, and proceed to the next step.
Before configuring Web UI make sure you have a PostgresAI account.
If you don't have a PostgresAI account yet, see the guide on how to start working with PostgresAI Console.
To configure Web UI:
-
First, get your
JOE_PLATFORM_TOKEN. This token lets Joe Bot talk to PostgresAI Platform to enable Web UI chat window, save the history of commands, and visualize query plans. In PostgresAI Console, switch to proper organization and open theAccess Tokenspage. Save it to Joe config (platform: token). -
Then, go to the
Joe instancespage in theSQL Optimizationsidebar section. -
Choose a project from the dropdown menu and press the
Add instancebutton. -
Generate
Signing secret. Put it in the configuration file (channelMapping: webui: <your channel name>: credentials: signingSecret). We will add and verify the URL on the last step, so do not close the page.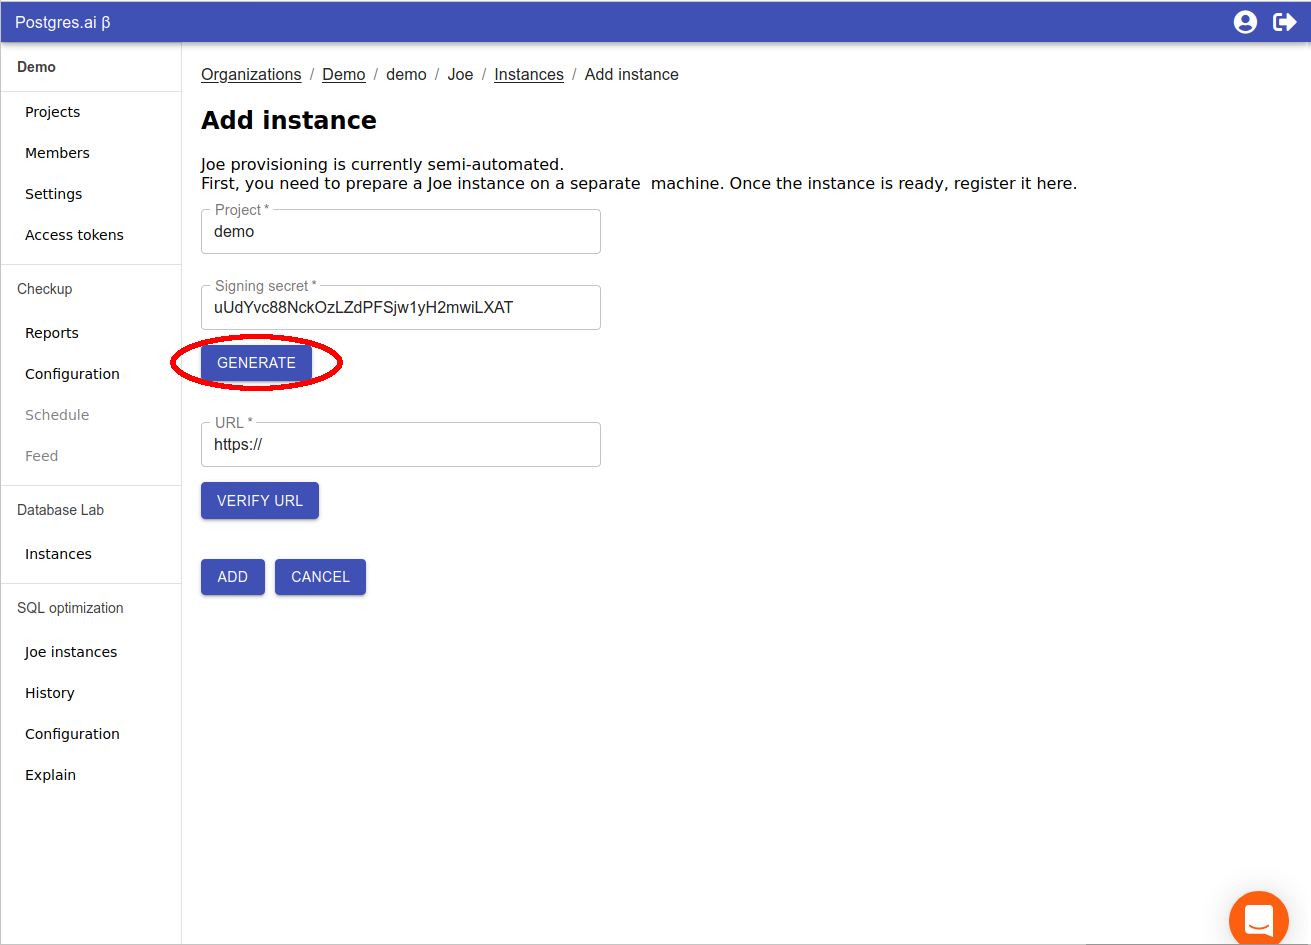
Step 2b. Set up Joe bot in Slack
If you need to work with Joe bot in Slack, uncomment channelMapping: communicationTypes: slacksm subsection in Joe config, and follow these instructions.
Configure a new Slack App in order to use Joe in Slack and add the app to your team Workspace.
-
Create
#db-labchannel in your Slack Workspace (You can use another channel name). -
-
Choose From an app manifest option in popup.

-
Paste next yaml.
-
_metadata:
  major_version: 1
  minor_version: 1
display_information:
  name: Joe Bot
  description: PostgreSQL query optimization assistent
  background_color: "#2b2c30"
features:
  app_home:
    home_tab_enabled: false
    messages_tab_enabled: false
    messages_tab_read_only_enabled: false
  bot_user:
    display_name: Joe Bot
    always_online: false
oauth_config:
  scopes:
    bot:
      - chat:write
      - files:read
      - files:write
      - users:read
      - users.profile:read
      - channels:history
      - incoming-webhook
      - reactions:write
      - app_mentions:read
settings:
  event_subscriptions:
    bot_events:
      - app_mention
      - message.channels
  interactivity:
    is_enabled: true
  org_deploy_enabled: false
  socket_mode_enabled: true
  token_rotation_enabled: false
-
Press "Install App to Workspace".
-
Choose
#db-labchannel.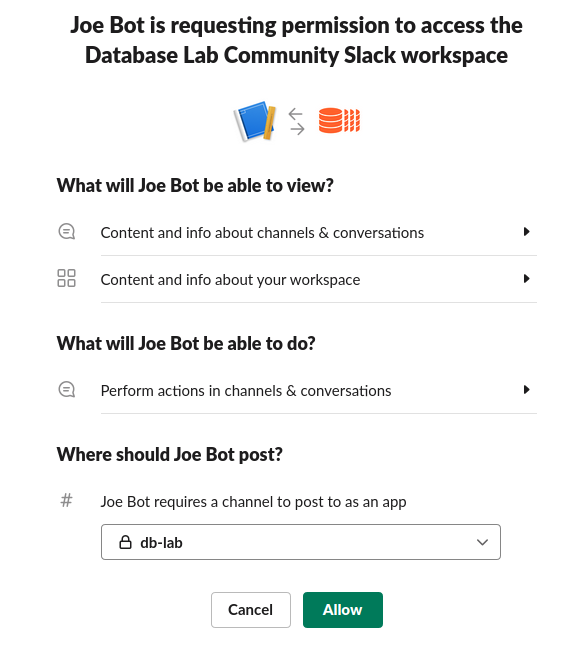
-
You will get "Bot User OAuth Access Token" which is required to run the Joe app.
-
-
Generate App Level token.
-
Go to the "Basic Settings" page and scroll down to "App-Level Tokens" section. Press "Generate Token and Scopes".
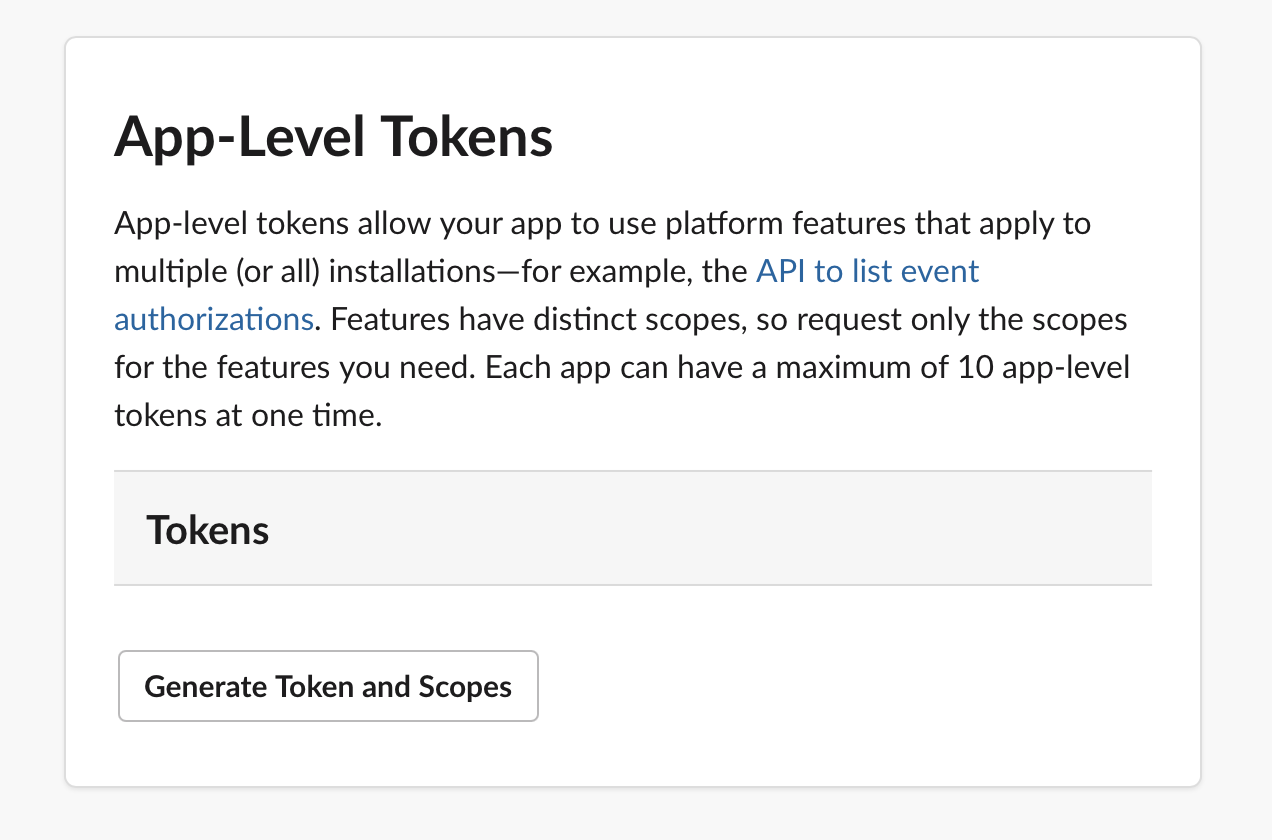
-
Fill in token name (e.g. "joe socket mode") and add scope
connections:write
-
You will get "App Level Token" which is required to run the Joe app in Slack SocketMode.
-
Now we have all tokens. Fill in "Bot User OAuth Access Token" and "App Level Token" in slacksm config section, and we are ready to run Joe Bot.
Step 3. Run Joe Bot container
-
Launch Joe Bot container which immediately connects to the Database Lab instance(s) you've specified in the config file.
sudo docker run \
    --name joe_bot \
    --publish 2400:2400 \
    --restart=on-failure \
    --volume ~/.dblab/joe/configs:/home/configs \
    --volume ~/.dblab/joe/meta:/home/meta \
    --detach \
postgresai/joe:latest
To observe Joe logs use:
sudo docker logs -f joe_botNeed you to reconfigure or upgrade, you can stop and remove the container any time using
sudo docker stop joe_botandsudo docker rm joe_botand then launching it again as described above. -
Make a publicly accessible HTTP(S) server port specified in the configuration to receive requests from communication channels Request URL (e.g., http://35.200.200.200:2400, https://joe.dev.domain.com).
Instead of working using insecure HTTP, you can set up NGINX with SSL enabled and open port 443, similarly as described in "Secure DBLab Engine".
Step 4. Verify the configuration
Step 4a. Finish the Web UI configuration
-
Return to the page of Joe configuration in the Console, enter the URL with the specific path
/webui/. For example,https://joe.dev.domain.com/webui/. -
Press the
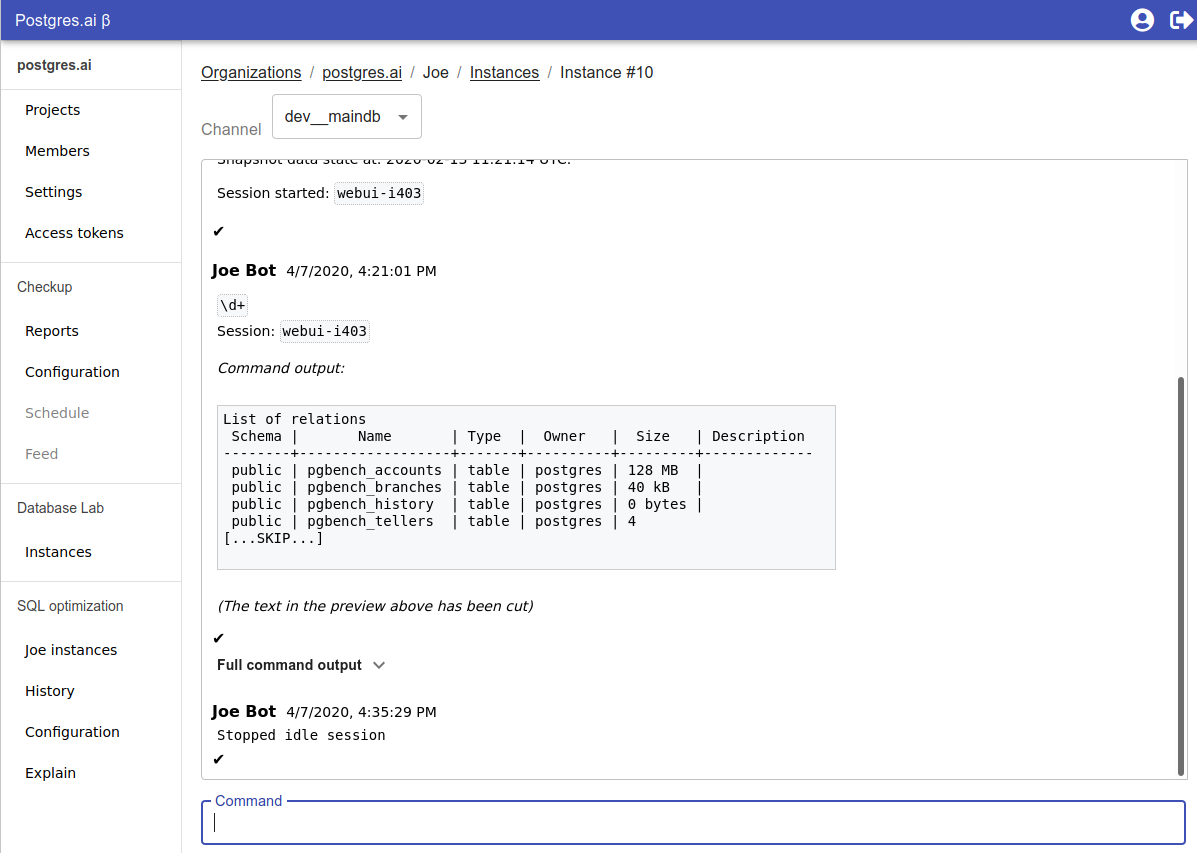
Verifybutton to check connection andAddthe instance after the verification is passed. -
Choose the created instance and send a command.
Step 4b. Finish the Slack configuration
-
Invite "Joe Bot" to "#db-lab" channel.
-
Send a command to the #db-lab channel. For example,
help.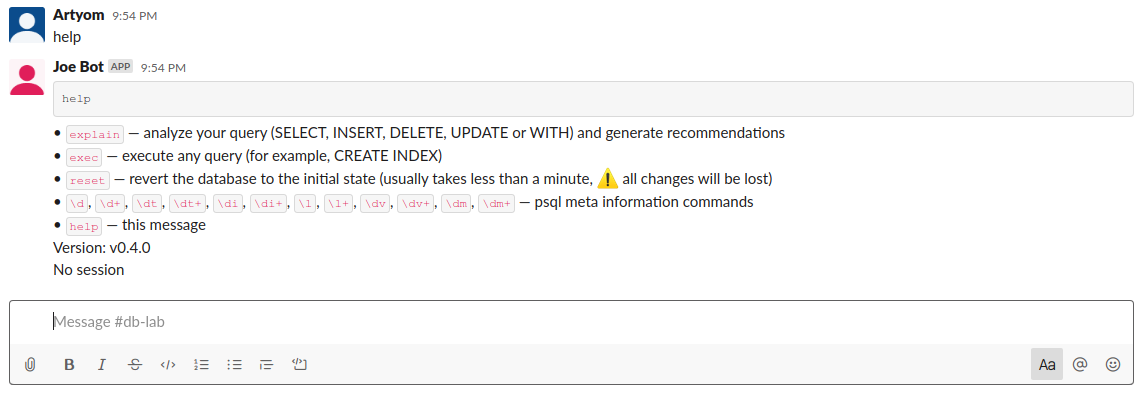
See available configuration options here.
Reach out to our team here, we'll be happy to help!